Installing UMod (formerly known as Oxide) on your Rust server
UMod (which used to be called Oxide, read more about why here (opens in a new tab)) is a modification framework for rust that allows you to install various mods/plugins on your server.
Installing UMod/Oxide
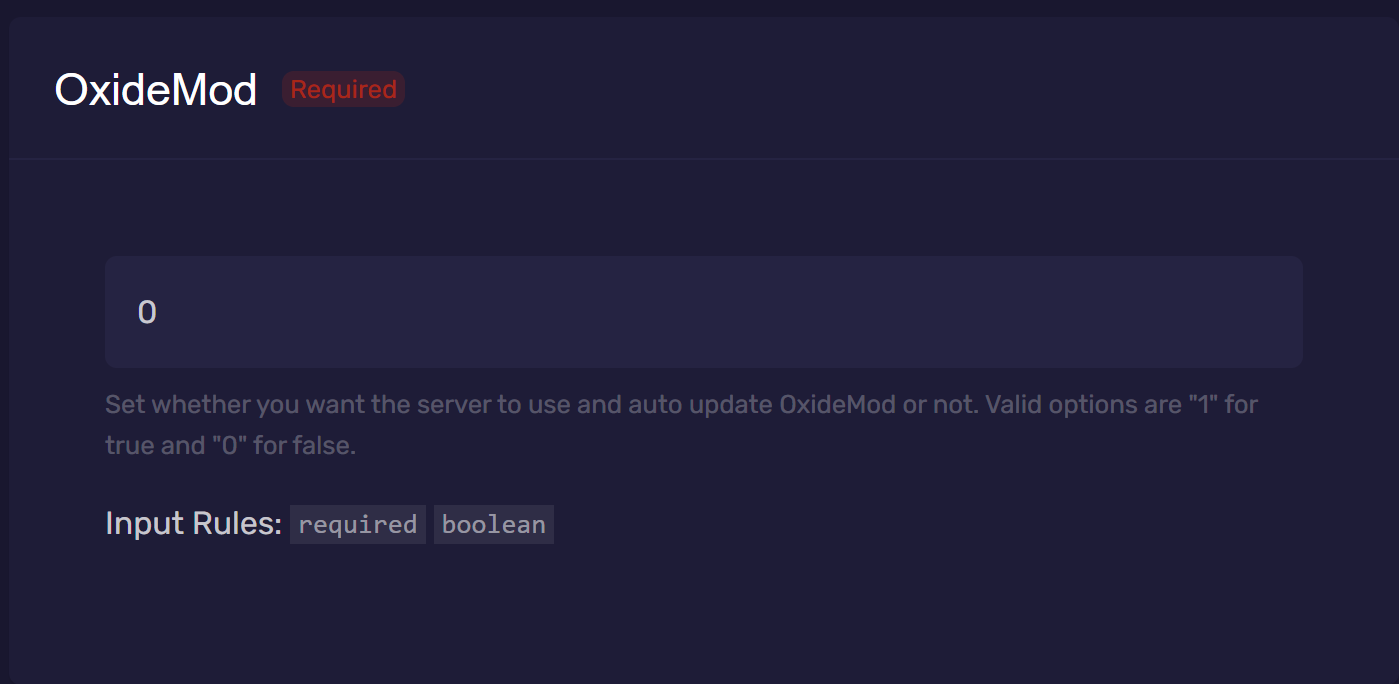
It's as easy as going to the Startup Parameters tab and setting the "OxideMod" parameter to 1.
Once you've done that, make sure to restart your server.
Installing UMod/Oxide Plugins
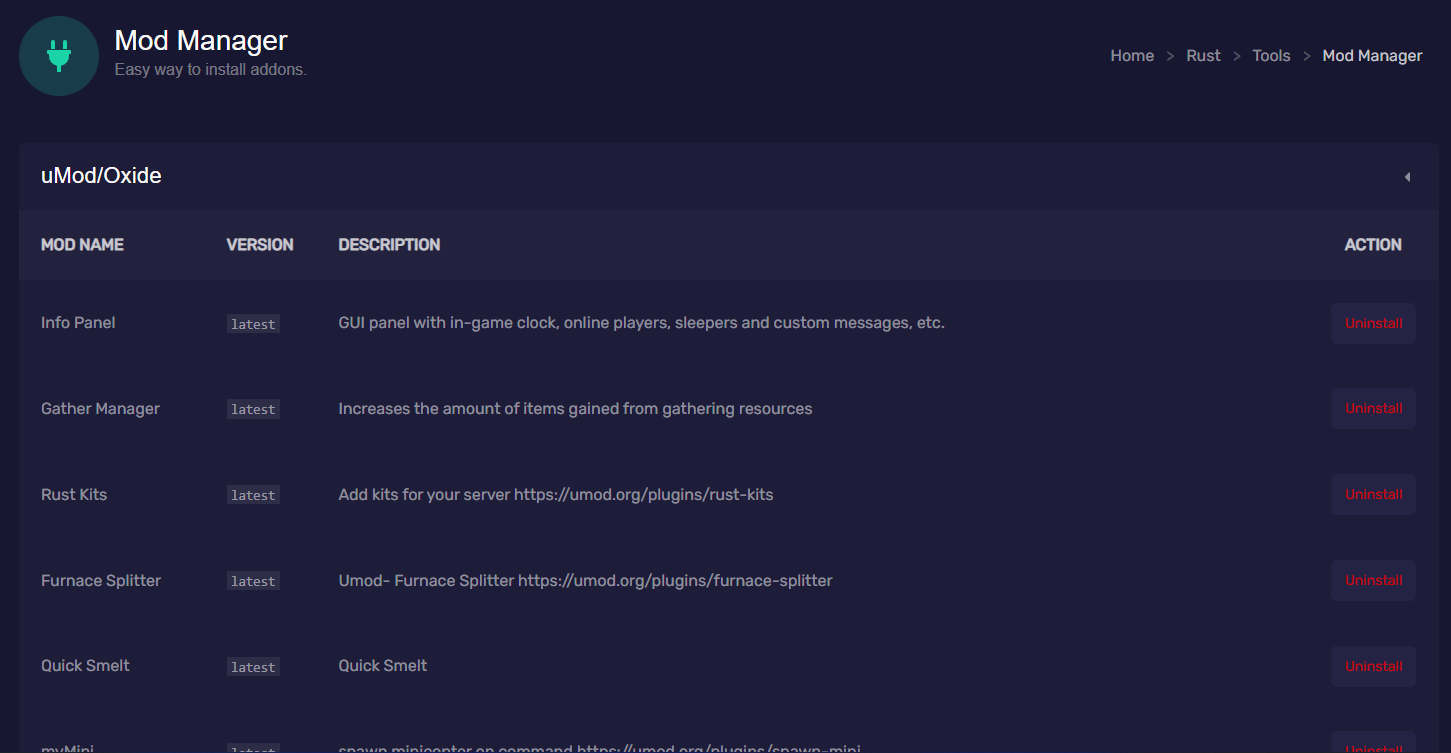
Automatic Install - Mod Manager (Easy ✅)
Log into the panel, go to Tools -> Mod Manager and click install on whatever mods you'd like to install.
Make sure you have first followed the instructions above to install UMod (aka OxideMod) and then restart your server before installing any plugins.
Manual Install (Not as easy ❗️)
Step 1
You can check out the most popular uMod Plugins by clicking here (opens in a new tab) or go to umod.org.
Step 2
Once you've found a Rust plugin you'd like to install, click the download button and you'll receive a file ending in .cs
Step 3
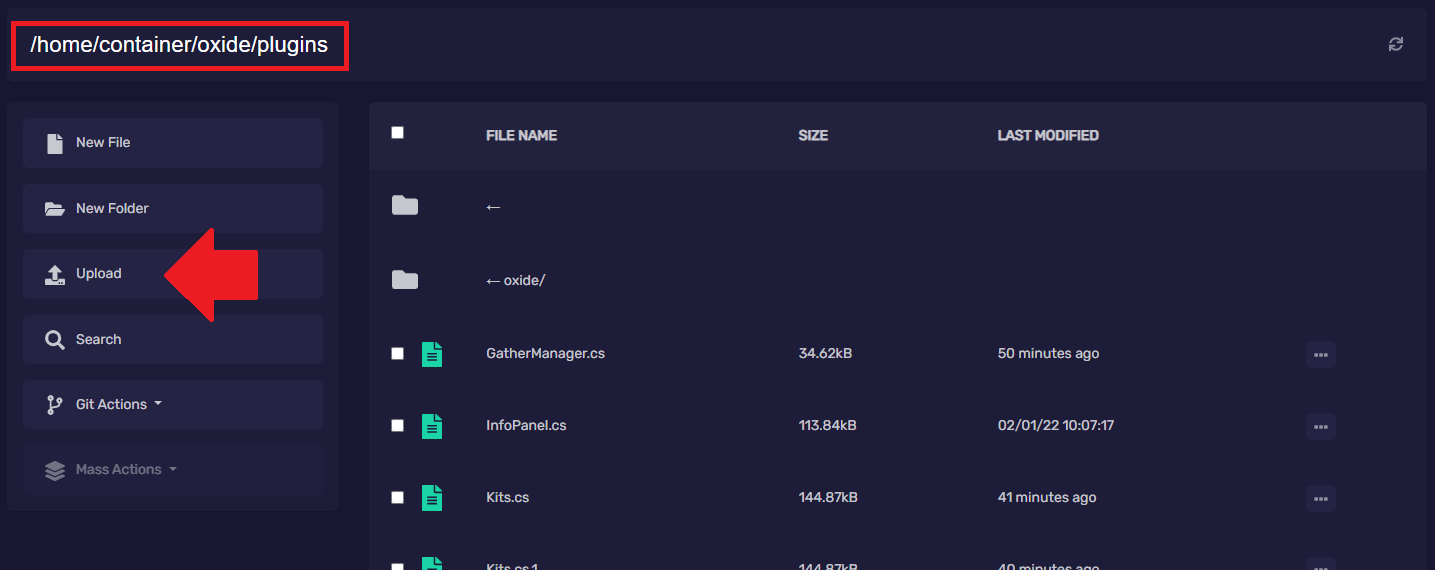
Open your servers File Browser and open the oxide folder, then open the plugins folder.
Step 4
Click on the Upload button and upload the .cs file you downloaded earlier.
Step 5
Restart your server.