Host your own CS:GO Server
Getting started
Server Configuration Parameters
Let's take a look at how to configure your first CS:GO server.
The first thing you'll want to do, is set up the basic parameters for your server. Things like server name, description, server password, etc.
Step 1
Log into the server panel (opens in a new tab) and find your CS:GO server.
Step 2
In the "Configuration" section, click on "Startup Parameters"
Step 3
Set the parameters to your liking. There are a lot of options available for a CS:GO server, so take the time to review each one and make changes if you'd like.
The main options you might want to change:
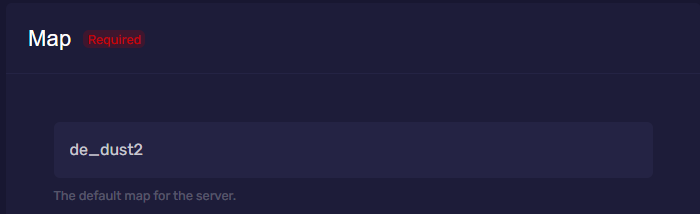
Change Map
Set the name of the map you want the server to start with automatically.
Steam Account Token
Make sure you proide a steam account token as this will enable your server to be seen publicly in the server browser.
Game Mode and Game Type
Use these two parameters together to change the game you're playing (e.g. arms race, competitive, etc). See https://developer.valvesoftware.com/wiki/CSGO_Game_Mode_Commands (opens in a new tab) for combinations and further documentation.
Disable VAC
Disables Valve Anti-Cheat on your server if you set this to 0
Disable HLTV
Disables the HLTV feature if set to 0
Start your server
Once you're happy with the startup parameter settings, go to the "System" section, then click "Console" and finally click on the "Start" button to start your server.
Remember: You will need to restart your server after making changes to your startup parameters, for those changes to apply.